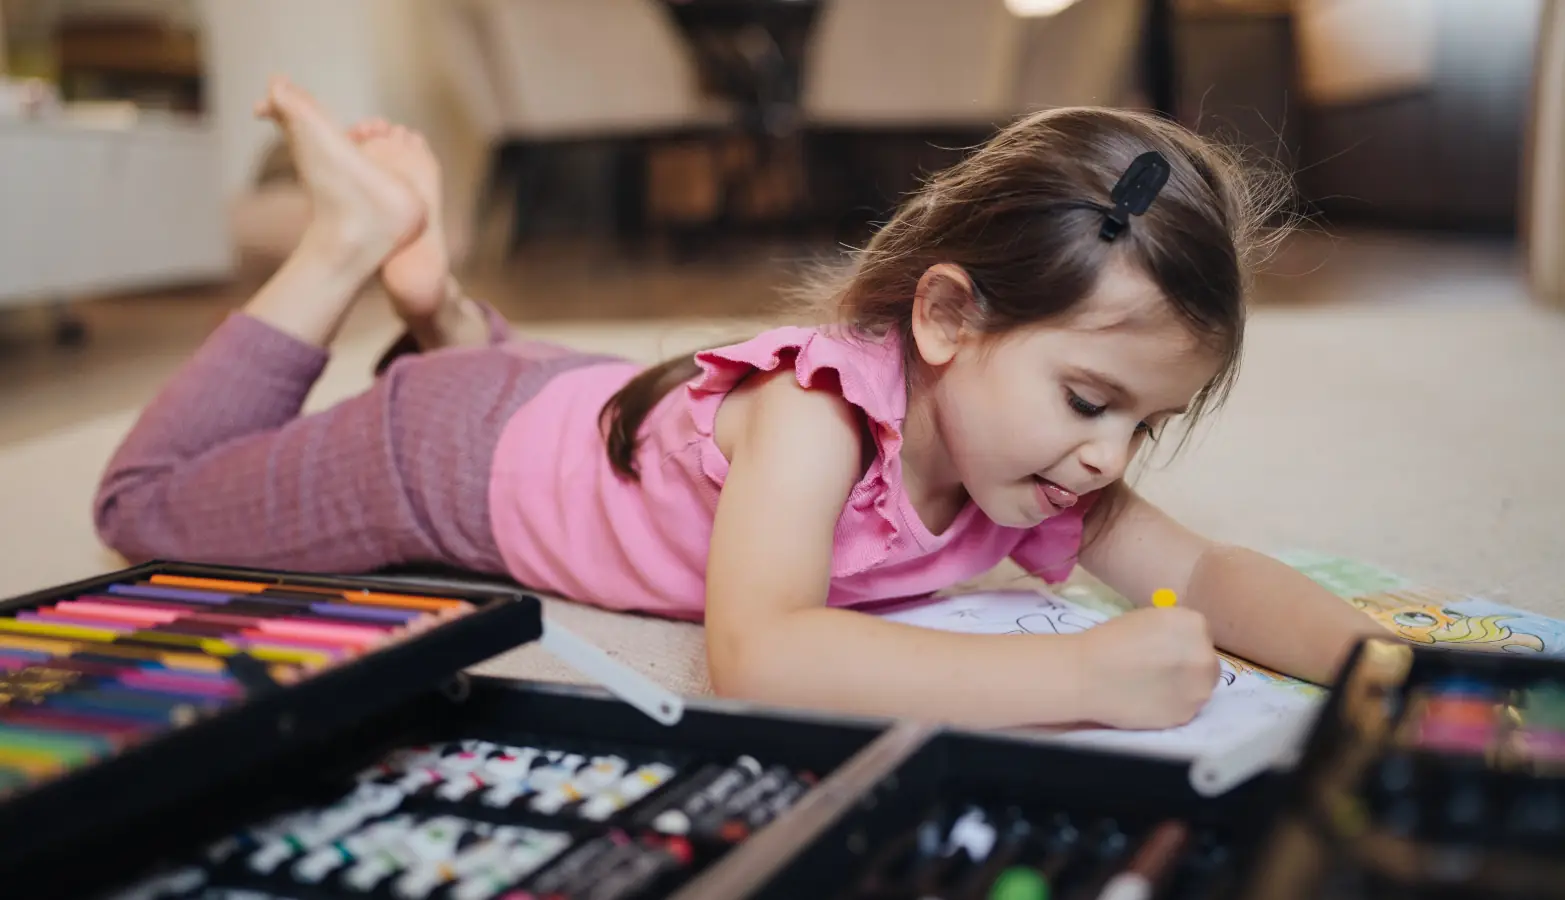
If you’ve ever watched a toddler try to color, you’ve probably seen them grip a crayon like a tiny, angry caveman wielding a club. Fist wrapped around the whole thing. Wrist locked. Entire arm doing the work while the fingers just… go along for the ride, passengers in their own hand.
And then some well-meaning adult — usually us, the parents — gently pries those little fingers apart and says, “No, sweetheart, like THIS," demonstrating the perfect tripod grip we saw on a parenting reel at 11pm while doomscrolling. (Why is it always 11pm? Why is it always Instagram? I don’t know. But it is.)
The kid cries. You feel guilty. The crayon ends up under the sofa, where it will live for the next four months.
Here’s what I wish someone had told me before all of that: pencil grip isn’t a thing you teach in one sitting. It’s a thing that develops over months, through play, through repetition, and — crucially — through activities that don’t look anything like “writing practice.” Not even close.
These seven tips come from occupational therapists, early-years educators, and our own experience designing tracing books for thousands of small, stubborn hands. They work. And none of them require your toddler to sit still for more than ten minutes. (Most require considerably less.)
Tip 1: Stop Handing Them Pencils. Start With Play-Doh.
Yeah. Really. Put the pencil down. Walk away from the stationery aisle.
Before a child can hold a pencil properly, they need hand strength — specifically in the thumb, index, and middle finger. The “tripod fingers.” The exact muscles that will eventually control a pencil. And most three-year-olds simply haven’t built those muscles yet, because modern life doesn’t ask them to. Nobody’s threading beads anymore. Nobody’s squeezing clothes pegs. They’re swiping glass. Smooth, frictionless glass that asks nothing of their tiny hand muscles.
So build the strength first, through stuff that feels like play:
- Play-doh or modeling clay — rolling, pinching, squishing. Ten minutes a day does more for pencil readiness than any worksheet. (The cheap supermarket play-doh works identically to the branded stuff. I’ve tested this. My kids cannot tell the difference. The only difference is my wallet crying less.)
- Tearing paper — old magazines, junk mail, that free newspaper from the train station. Let them rip. Sounds destructive. Is actually brilliant for finger isolation.
- Squeezing spray bottles — water the plants together. The trigger mechanism works the exact same muscles as a pencil grip. Also, toddlers will water things that do not need watering. Your cat will be damp. Accept this.
- Threading large beads onto a shoelace. Supervise this one. Toddlers and small beads are a combination that ends with you on the kitchen floor with a torch, looking under the fridge.
Do this for a few weeks before you worry about how they’re holding the crayon. You’re building the engine before you put them behind the wheel.
Tip 2: Ditch the Standard Pencil (For Now)
This one’s short because it’s simple.
Standard pencils are 7mm in diameter. A toddler’s hand is roughly 5cm across. The proportions are absurd. You wouldn’t hand an adult a chopstick and say “write your name, small, neatly, go” — and yet we hand three-year-olds a standard HB and act confused when they fist it.
Get chunky triangular crayons instead. The three flat sides naturally guide fingers into a tripod position. No instruction needed. The shape does the teaching. Jumbo pencils (10mm+) also work. And here’s a weird one: break a crayon into 3cm pieces. A short stub forces a fingertip grip because there’s nothing to fist around. Occupational therapists have used this trick for decades. It looks like you’re being cheap. You’re actually being clever. (Or both. Crayons aren’t expensive.)
Save the standard pencils for age 5 or 6. The tool should fit the hand, not the other way around.
Tip 3: Make It Vertical
Tape a large sheet of paper to the wall. Or use an easel. Or stick paper to the fridge with magnets and let them draw standing up.
Drawing on a vertical surface forces the wrist into extension — bent slightly backward — which is the exact position needed for a mature pencil grip. On a flat table, a child can get away with a locked wrist and a full fist grip. On a wall, the biomechanics shift automatically. Their wrist has to extend. Their fingers have to do more of the work. Nobody has to explain this. The wall does it for you.
It also works the shoulder and core, which — and this surprised me when I first learned it — are part of the same “fine motor” chain. You can’t have steady fingers on a wobbly arm. The whole body is involved. A three-year-old drawing on a wall is basically doing a very low-stakes plank. (My daughter once drew an entire “family portrait” on the hallway wall in washable marker. The family consisted of five stick figures and a dog that looked like a potato with legs. I framed it. It’s still there. My husband has opinions about this. I don’t care.)
You don’t need a fancy easel. Painter’s tape and a sheet of A3 paper costs pennies.
Tip 4: The “Crocodile Mouth” Trick
If your child is ready to try a pencil — usually around 3 to 3.5, but honestly, every kid’s different and the internet will try to convince you otherwise — here’s the simplest verbal cue that actually sticks with small children:
“Make a crocodile mouth with your fingers. The pencil goes in the crocodile’s mouth. Thumb on top, index on the side, middle finger underneath as the pillow."
Then let them “chomp” the pencil gently. Kids remember the crocodile. They do not remember “tripod grasp” or “lateral pinch” or any of the terminology that makes parenting forums insufferable.
A few notes, though:
- Don’t drill this. Mention it once, maybe twice per session. Then let them draw.
- If they revert to a fist grip after 30 seconds? That’s fine. Their hand is tired. Let them rest.
- Never physically rearrange their fingers. It’s annoying, it breaks their focus, and it makes them hate the activity. I learned this the hard way. (I will not be elaborating. Let’s just say there were tears and they were not the child’s.)
The crocodile cue is a gentle reminder. Not a correction protocol. Not a hill to die on.
Tip 5: Trace Before You Write
This is where we’re slightly biased, obviously. We make tracing books. But the evidence backs this up regardless of who’s selling what: tracing is the single best bridge between “holding a crayon” and “writing letters."
The reason is simple. When a child traces a line, they don’t have to think about what to draw. The path is already there. Their brain can focus entirely on how to move the pencil — the pressure, the direction, the speed, the whole physical negotiation between hand and page. That’s a lot of cognitive load for a three-year-old. Tracing removes half of it.
But — and I cannot stress this enough — start with lines, not letters.
A three-year-old who can’t draw a smooth horizontal line is not ready for the letter “A.” They’re not. The progression looks roughly like this:
- Straight lines (horizontal, vertical)
- Curves and circles
- Zigzags and waves
- Simple shapes (square, triangle)
- Then letters and numbers (usually age 4+, sometimes later, and that’s fine)
We built our Tracing Book for 3-4 Year Olds around exactly this sequence — 88 pages that move from “draw a line from the dog to the bone” to “trace a wavy path through the garden.” No letters. No numbers. No pressure. Just lines that get gradually trickier, with pictures that make a three-year-old want to do “one more page.”
The milestone that matters at three isn’t a recognizable letter. It’s a smooth circle drawn without lifting the pencil. That’s it. That’s the whole benchmark. If they can do that, they’re on track.
Tip 6: Short Bursts. Shorter Than You Think.
A three-year-old’s focused attention span is roughly 3 to 8 minutes. Five minutes of tracing is a full session. Done. Close the book.
And here’s the part that’s genuinely hard for parents: stop while they’re still enjoying it. If they’re on page 3 and having fun, close the book anyway. You want them thinking “oh, we’re doing this again tomorrow?" — not “ugh, not the pencil thing."
Ending on a high is worth more than two extra pages. Motivation compounds. So does resentment. Pick the one you want.
Tip 7: Let Them Be Bad at It
Your three-year-old’s “circle” will look like a potato. Their straight line will wobble like a seismograph during a minor earthquake. They will color the sky green and the grass purple and the dog will have nine legs and they will hold the crayon in a way that makes your inner perfectionist physically twitch.
Let them.
At three, the goal is not a neat product. The goal is: they picked up the pencil voluntarily. They moved it across the page with some degree of control. They felt proud of what they made. They’ll do it again tomorrow.
That’s the whole curriculum. There is no more.
If you hover and correct — “no, hold it like this,” “stay inside the lines,” “that’s not how you draw a house” — you will extinguish the one thing that actually drives progress at this age: the desire to try. The wobbly, irrational, magnificent desire to make a mark on a page and say “I DID THAT."
Praise the effort, specifically. “You kept your pencil on the path the whole time!" beats a generic “good job” every single day. And put the wobbly potato-circle on the fridge like it’s a Rembrandt.
Because to them, it is. And honestly? The fridge is already a mess. One more drawing won’t hurt. (This is me talking myself into it. My fridge has eleven drawings on it. Eleven. My husband has moved to the garage fridge. I respect his boundaries.)
When Should You Actually Worry?
Most grip “issues” at age 3 are completely, boringly normal. A fist grip (palmar supinate grasp, if you want the term for the pediatrician’s office) is developmentally expected until about age 4. A four-finger grip is normal until 5 or 6. The mature tripod grip often doesn’t fully settle until 7. Seven. So if your three-year-old is fisting a crayon like a tiny medieval knight gripping a sword, they are exactly where they should be.
That said, chat with your doctor or an occupational therapist if:
- Your child avoids all drawing and coloring past age 3.5 — not just sometimes, but consistently, every single time
- They can’t pick up small objects (raisins, beads, bits of cereal) with thumb and finger by age 3
- Their hand seems unusually stiff or unusually floppy compared to other kids their age
- They show genuine distress — not just “I don’t want to” but real, escalating upset — with any fine motor task
For 95% of kids, though? They just need time, the right-sized tools, and a parent who isn’t white-knuckling the crayon situation at 7am before nursery.
A Rough Weekly Rhythm (If You Want One)
I don’t really do schedules. (My children have made this clear to me, repeatedly, at volume.) But if having a loose structure stops you from feeling like you’re just… winging it every day, here’s what works:
Monday — Play-doh and tearing paper. Ten minutes. That’s it. No pencils.
Tuesday — Tracing. Two or three pages. Five minutes. If they want to do more, let them. If they don’t, close the book.
Wednesday — Spray bottles in the garden. Bead threading. Whatever. The point is hands are busy, fingers are working, nobody’s calling it “practice.”
Thursday — Coloring. Free choice. No rules. The sky can be green. The dog can be purple. You are not the art director. You are the audience.
Friday — Tracing again, plus wall drawing if you can be bothered with the tape. (You don’t have to be bothered. The tracing alone is fine.)
Saturday and Sunday — Nothing. Free play. Go outside. Build a den. Let them draw on the pavement with chalk if the weather’s decent. No “practice.” No structure. They’re three. They’re allowed to just… be three.
Notice that only two days involve a “book.” The rest is play. That’s intentional. The play is the practice. The book is just where they get to show off what their hands have been learning all week.
The Bottom Line
You don’t need to be an occupational therapist. You don’t need a £40 pencil grip kit, a laminated worksheet binder, or a 47-part YouTube series called “Unlock Your Child’s Writing Potential." (That’s a real series. I watched three episodes. I regret it.)
You need chunky crayons. Some play-doh. A few pieces of paper. And the willingness to let your kid draw a very wobbly, very proud, very green sun.
The tripod grip will come. It always does. Your job right now is just to keep their hands busy and their enthusiasm intact.
You’ve got this. And so does your little crocodile. 🐊
Looking for the right tracing book to start with? Our Tracing Book for 3-4 Year Olds was designed with every tip in this article in mind — progressive lines, large format, zero letters, maximum fun. Browse our full activity books collection or colouring books for more screen-free skill building.
Stuff People Keep Emailing Me About
I get a lot of emails. (More than I’d like. Fewer than I deserve, probably.) These three come up so often I’m just going to answer them here:
“My kid still fists the crayon. She’s three and a half. Is she behind?"
No. She’s three and a half. A fist grip is normal until four, sometimes longer. You’re not behind. She’s not behind. Nobody is behind. There is no race. There is no leaderboard for crayon grip. (I have checked. It doesn’t exist. I was relieved and also slightly disappointed, because I would have been competitive about it.)
“Should I buy one of those rubber pencil grip things?"
Probably not. For a typically developing kid, a chunky triangular crayon does the same job for a fraction of the cost. The rubber grips are useful for kids with specific motor challenges — an OT can tell you if that applies. But for most toddlers? Save your money. Buy more play-doh.
“When do letters start?"
Later than you think. Around 4 to 4.5, once they can trace smooth lines and curves without lifting the pencil. Some kids get there at 4. Some at 5. Both are fine. Rushing into letters before the hand is ready just creates frustration — for them and for you, at 7am, before work, when nobody has had breakfast. Don’t do it. The letters will wait. They’ve been waiting a few thousand years already. They can wait another six months.
The Background Behind the Tips (For the Curious)
If you’re wondering where these recommendations come from, here is a quick look at the developmental science and clinical practices that back them up:
1. The Shape Sequence (Before Letters)
The advice to master lines and circles before letters is based on the gold-standard assessment for visual-motor integration.
- Source: Beery, K. E., & Beery, N. A. (2010). The Beery-Buktenica Developmental Test of Visual-Motor Integration (Beery VMI).
- The Science: This assessment confirms that a child’s neurological and motor systems are typically ready to draw a vertical line at age 2, a circle at age 3, a cross (+) at 4, and a triangle with complex diagonals (required for letters) around age 5.
2. Pencil Grip Milestones
The reassurance that a fist grip is normal at age 3 is supported by classic grip progression studies.
- Sources: Schneck, C. M., & Henderson, A. (1990). “Descriptive Analysis of the Developmental Progression of Grip Position…”. American Journal of Occupational Therapy. | Case-Smith, J., & O’Brien, J. C. (2014). Occupational Therapy for Children and Adolescents.
- The Science: Children naturally progress from a palmar supinate grasp (fist grip, 1-2 years), to a digital pronate grasp (2-3 years), to a static tripod grasp (3.5-4 years), before reaching a fully mature dynamic tripod grasp between ages 4 and 7.
3. Breaking Crayons (The Small Tool Rule)
Using short stubs to encourage a proper grip is a classic, highly effective occupational therapy intervention.
- Source: Handwriting Without Tears (now Learning Without Tears), a widely adopted, evidence-based clinical program developed by occupational therapist Jan Z. Olsen in the 1970s.
- The Clinical Rationale: While this is a foundational clinical practice rather than a single peer-reviewed study, the biomechanics are sound: a tool that is too small to be gripped with the whole palm forces the child to engage their thumb, index, and middle fingers, naturally promoting a pincer and early tripod grasp.
4. Vertical Surface Drawing
The biomechanical shift that happens on a wall is a foundational principle of hand development.
- Sources: Benbow, M. (1995). “Principles of Hand Development”. In: Hand Skills in Children. | Erhardt, R. P. (1994). Developmental Hand Dysfunction.
- The Science: Working on a vertical surface automatically places the wrist in slight extension, an anatomical prerequisite for a mature tripod grip. It also engages and stabilizes the shoulder girdle (proximal development), which is necessary for precise finger movements (distal development).
5. Toddler Attention Spans
The recommendation to keep sessions short is rooted in developmental psychology and early childhood education benchmarks.
- Source: General developmental psychology and early childhood pedagogy consensus on sustained attention.
- The Rationale: While individual capacity varies, child development experts generally agree that a child’s natural directed attention span is roughly 2 to 3 minutes per year of age. For a typical 3-year-old, this means the maximum time for focused, adult-directed work is 6 to 9 minutes.